
Maximize The Use of WordPress Widgets and WordPress Themes
Let’s Talk About WordPress Widget! First, we have to know what a widget is. A widget is a content made by plugins you installed from the third party (plugins), made automatically by the themes you’re using and by WordPress itself. We can combine all of them in order to maximize the use of WordPress widgets and WordPress themes.
There are different ways to get widgets and put them in the correct place to get the maximum benefit of them. In my Welcome page, I wrote some links to help you start easily and faster than if you have to follow the step by step tutorial here. But, if you want to know the core of building a WordPress website, you can continue reading this article.
Keep in mind that I’m not a programmer, and that’s the main reason I’m using WordPress in the first place. And if you’re reading this, I think we’re in the same boat now.
Let’s start with choosing WordPress Hosting
We can start from the scratch by buying our own domain and hosting plan and then install WordPress on it. Or using the way that I prefer, get everything from one place that offers WordPress hosting such as Namecheap.This is called self-hosted site. That way, our next step will be hassle-free, and on the top of all, it’s cheaper than using the service from WordPress.com. Even, WordPress.com is offering us many benefits, such as powerful and reliable CDN and sharing the profit of the advertisement with you. So, the choice is up to you.
Make a plan on how your site will work more, and worry less about design. Because Wordpress is a CMS (Content Management System) that offers templates. You can keep the focus on the content.
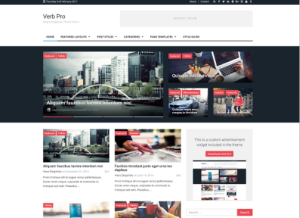
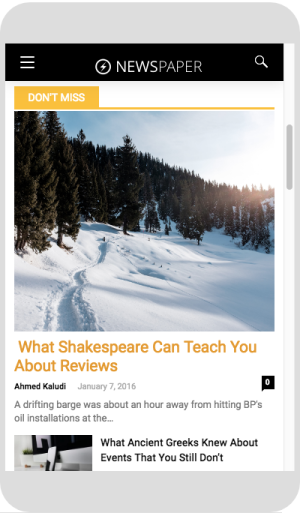
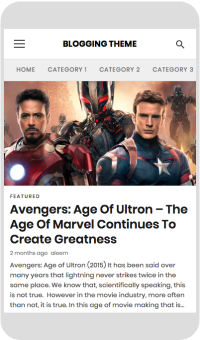
Selecting WordPress Themes
This is what I love about WordPress, I’ve been changing themes like hundreds of them. It offers so many cool and functional themes. Using the cool material design or today’s trending, Parallax is as easy as clicking a button. There are many free themes out there, with limitation. And there are also so many paid themes that offer us some time to try the demo.
Also read: 5 Cool and Professional WordPress Themes
My suggestion is, start with the simple one. Even the standard free themes displayed on the installation theme are good enough to start with. But be careful, not everything is reversible when changing themes. Sometimes two websites using the very same theme can be looked different. Depending on some factors, including the previous modification.
Also read: Cool WordPress Themes
 Making First Post and Page
Don’t be confused about the term post and page. They both are displaying the similar front-end to you while they’re also different.
A post is something you make regularly, such as blog, article, and news. On the other hand, a page is something you need to be in one place, such as About, Contacts etc. Pages can add themselves to the menu, Posts don’t. Posts can appear on your blog, Pages (by default) don’t. This page you’re reading now is a post. Some of the menu on the menu bar leads to a page. Easy, right?
What if you wrongly make a post a page? You can easily install a plugin to convert the post to page vice versa.
Read tutorial about how to switch post to page here.
Adding Tag and Category
On the right (desktop) or below the text area, you can see Category and Tags (Uncategorized by default). You have to add the category according to your post by stacking it up every time you make a new post. category and Tag don’t show on the page editor because they are exclusively built for a post.
You should include this in the plan to avoid confusing yourself and your reader. I did it wrong, as you can see, my Category has bulked up way too many.
The category is something to classify your post into. For example, I want to make a catalog about a store that sells books and music records. In the book section, I’m asked to split both sections by genre.
So, I’ll make Books and Music as a category.
Then I make novel and comic as the tags for books and heavy metal, pop etc as the tags for music. Make sense, right?
Choosing WordPress Plugins
To me, using WordPress without plugins is like driving a Ferrari in a crowded street. Dull, no matter how cool our website looks. Using plugin helps us, non-programmer to achieve the goal faster. Less studying, more creating. Even I have to admit that most of my WordPress fatal issue only can be fixed by my fellow programmer.
This is a list of must-have WordPress plugins:
- Jetpack
- WPFC
- Yoast SEO
- WP Touch
- AMP for WP
- GTranslate & Polylang
- Facebook Instant Articles
- Cloudinary
- WP Quads
- Script Inserter
- Woo Commerce
Maximize The Use of WordPress Widgets and WordPress Themes
Jetpack allows you to share your post simultaneously to your social media such as Facebook, Tumblr, and Path. It’s easy to use because it’s very intuitive. Jetpack also allows you to sync your self-hosted WordPress to WordPress.com to use WordPress.com CDN. This will drastically increase the speed of your website.
WPFC, the acronym of WordPress Fastest Cache deals with the script that slows our web down. Use with caution because this plugin can render our web to behave strangely.
Yoast SEO is the best Search Engine Optimization for WordPress. It tells us how to write a post in a better way in order for the search engine to find our web better and faster too.
WP Touch is a cosmetic for your web to appear nicely on mobile devices. I have to admit that the AMP version of WordPress is ugly. WP Touch helps us to keep our reader comfortable on our site.
AMP For WP
AMP (Accelerated Mobile Page) is a must for any websites today. That’s since 80% of the time people use the internet are on their mobile phone/tablets. How can you attract more people if your reader finds an ugly and dull display on the article they’re reading?
If your article is interesting, most likely the reader will turn on the reading mode and that will kill your chance to show your reader some ads that should’ve been displayed there. AMP for WP answers to that and your web will look great with these customizable themes.
GTranslate and Polylang are translator plugin you can use to… well, translate. Read more about GTranslate here (if you don’t understand the language, simply change it with the button on the left). Polylang does something like that but in the broader way. It translates also the other parts GTranslate didn’t touch from counting the average reader on your post if you include certain language to translating your images and strings (not recommended, but go ahead if you know what you’re doing).
Facebook Instant Articles
You must have a Facebook Page to use this plugin. Instant articles is the way Facebook displays your associated website on your facebook page. You can associate them by using Jetpack plugin mentioned above. Now this sounds more productive, right? You can customize the look of your instant articles on your facebook page, so your web design will be overridden by Instant Articles. Facebook does this to keep your reader stay on Facebook. Your reader will continue reading instant articles on Facebook until they go too deep on your website, then Facebook will redirect your reader away from Facebook to your site. Facebook plugins is the easy way for you to apply Instant Articles setting to your website.
Ready to make your WordPress website even cooler? Try animating your WordPress website here!
Cloudinary allows you to put your images on their cloud instead of populating your web with excessive pixels. Imagine this, you took an image from the internet with the size of 1200 x 800. Then upload it to your WordPress website only to display them in 300×200. You’re actually “forcing” your website to process unnecessary pixels of your image.
With Cloudinary, you put the image on the cloud, resize and even manipulate the image (still on the cloud) and then display it on your web. This will increase the speed of your web.
Money Maker
WP QUADS is a plugin to automatically display your Google Ads (or any Ads, or any script) on your pages and posts. If you see some ads displayed on this article, most of them are WP QUADS doing. After going through the one-time setup (after you’ve finished all the steps from Google), you won’t have to worry about placing Ads manually ever again.
Script Inserter is used when you need to put some scripts on your WordPress websites, such as Google Analytics and Facebook Analytics. With this plugin, you don’t have to risk the safety of your website as the results of messing with the .php files.
Woo Commerce is the best option if you want to start your own online store. It’s easy to use on a daily basis but quite powerful to take care of stocks and payments.

Placing Widgets to Maximize The Use of WordPress Widgets and WordPress Themes
Placing widget is a very subjective matter since all themes have their own widget placement. But here is the most common:
- Top <— on top
- Header <— around the top area
- Above Menu-Below Menu <— around the top menu
- Left-Sidebar and Right-Sidebar <— on the left and right of content (pages/posts)
- Footer <— all the way down placed under the content.
Go to Appearance > Widgets on your WordPress dashboard. You will see the widgets container on the right and the available widgets on the left. Some of the widgets were created by the plugins you’ve installed. You can drag and drop each widget to the container, or simply by clicking on the widget and then choose where you want it to be.
The most popular widget is HTML Arbitrary, in which you can put a script such as Google AdSense or Amazon affiliates script. That way, you can have additional ads appear on your website as the addition of those WP Quads put.
It’s always fun experimenting. What fun does a chemical lab have without a small Kaboom?
I guess that’s all for “Maximize The Use of WordPress Widget and WordPress Theme”.

 Neural translation
